How to Cut Up a Whole Chicken
If you’re getting chicken parts at the store, you’re missing out on the best part of the bird.
Probably not all that appetizing if you’re American, but for the rest of the world, this is pretty much what a whole chicken looks like.
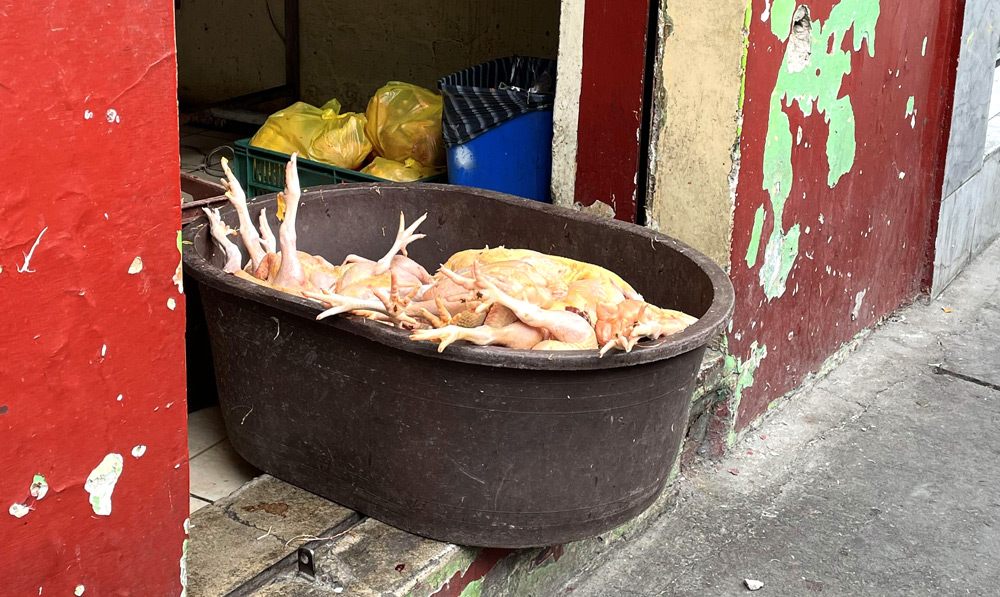
And this is what it looked like about 15 minutes ago.

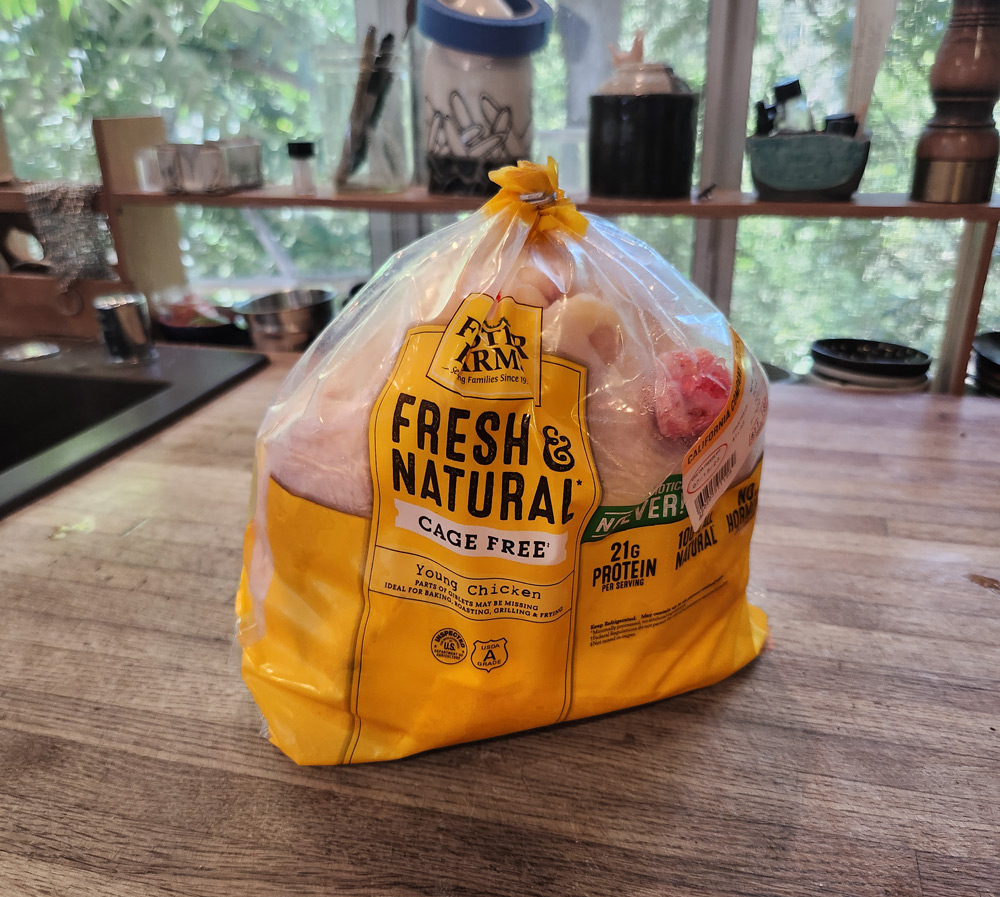
Of course, this is what we know as “a whole chicken” here in the states. It will stay “fresh” like that for nearly a week!
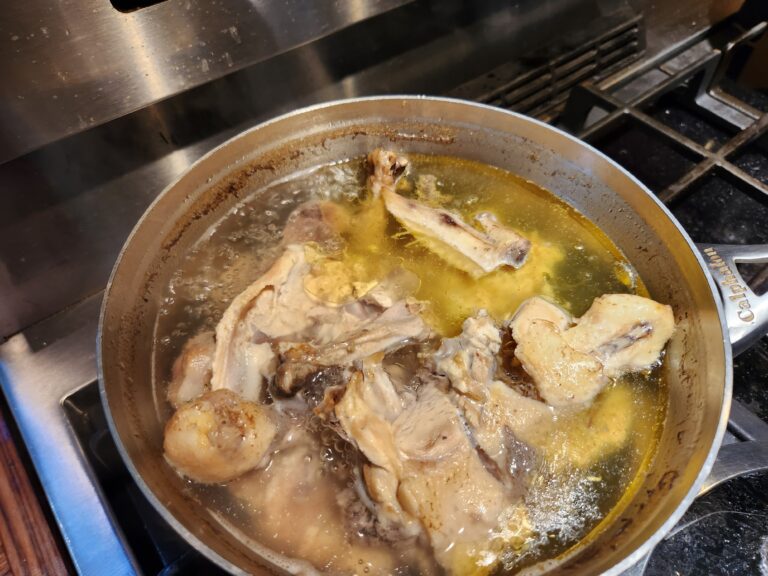
But whatever a whole chicken looks like where you’re from, once it’s no longer living, there are about as many things to do with it as there are cooks in the world. And whichever way you decide to cook your chicken, be sure you DO NOT THROW OUT THE BEST PART! Use those bones and fat to store for later in this simple but essential gelatinous chicken broth.
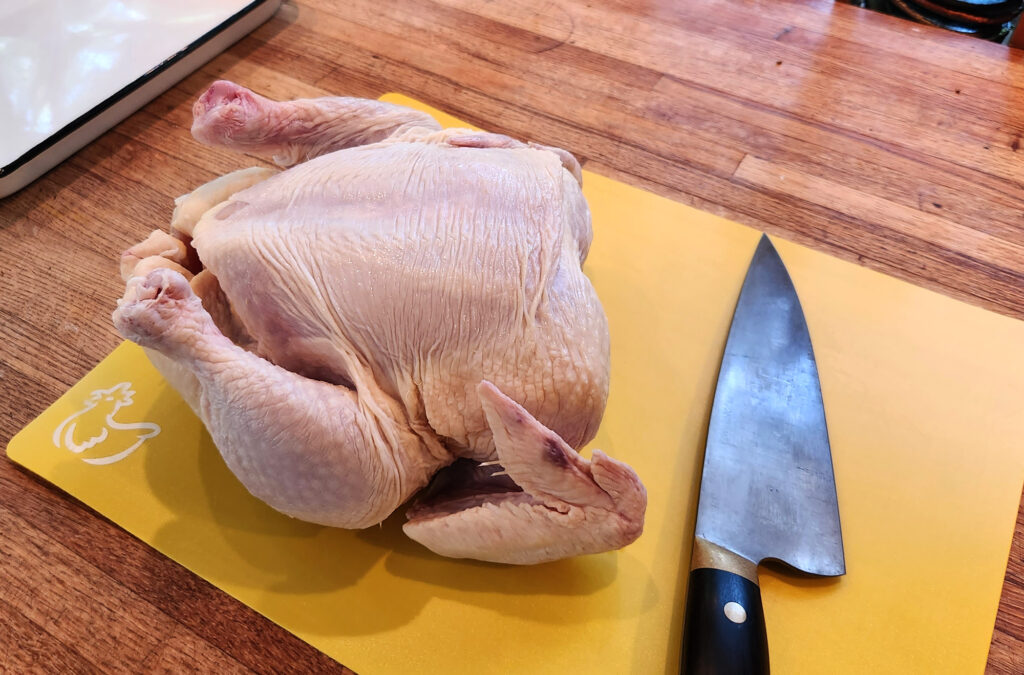
OK, here’s your chicken. You may have to remove the giblets from the cavity (put the neck in the stock pot along with the bones. Chickens don’t come with their actual parts anymore. Sometimes I get several livers and a heart. Sometimes no liver, three gizzards and two hearts. At any rate, if you have a good-looking liver, you can either make a quick pate now or freeze it for later
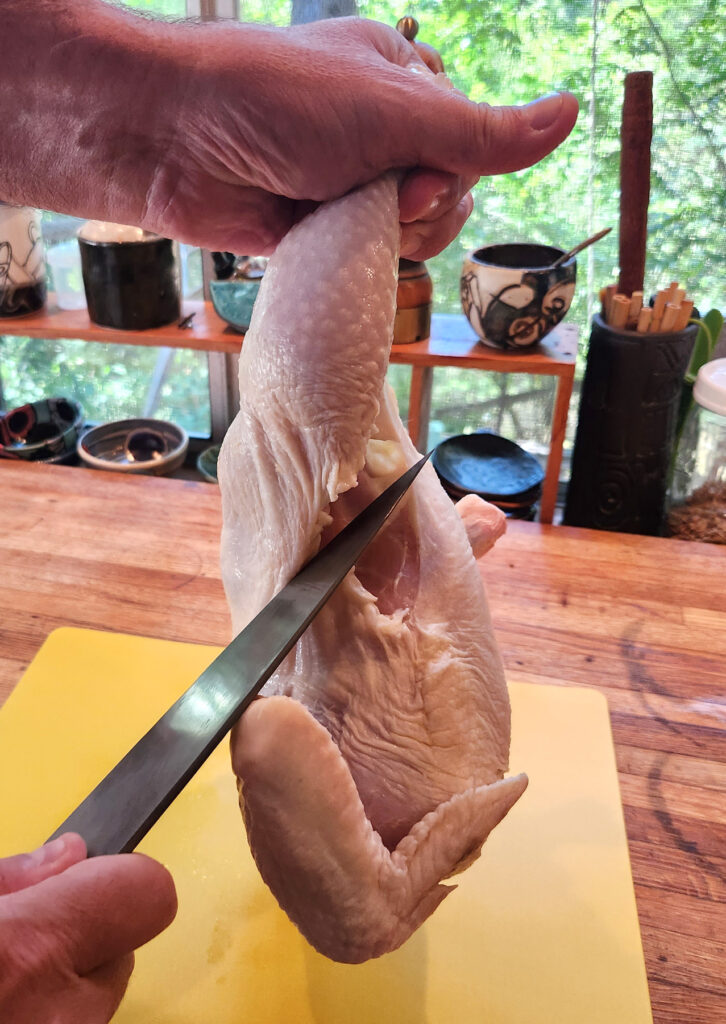
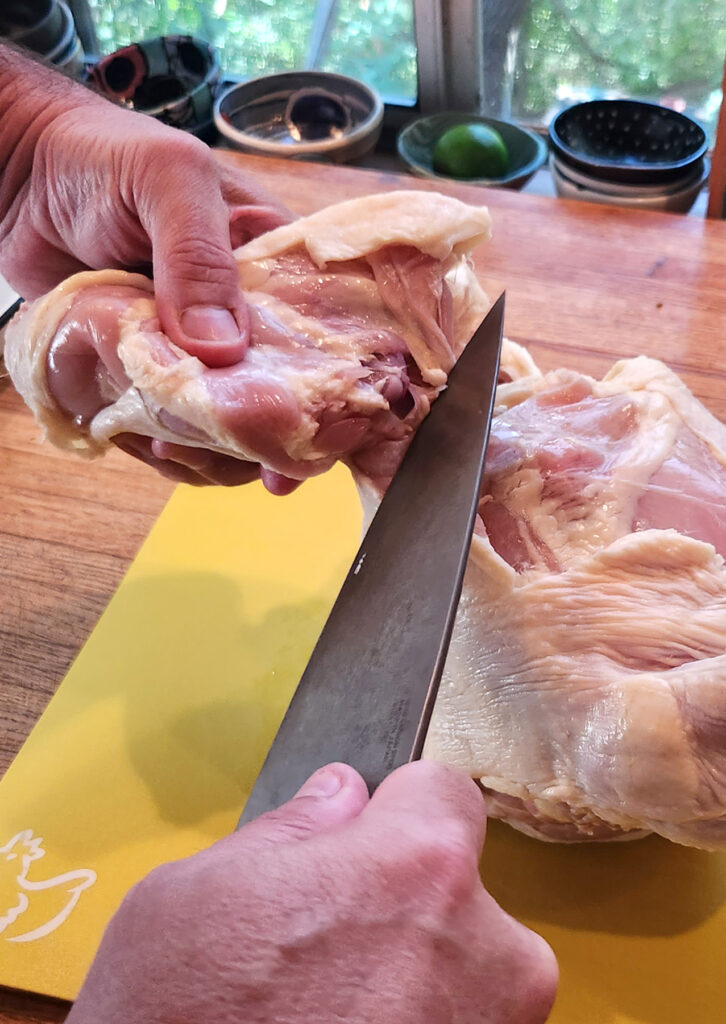
Step 1:
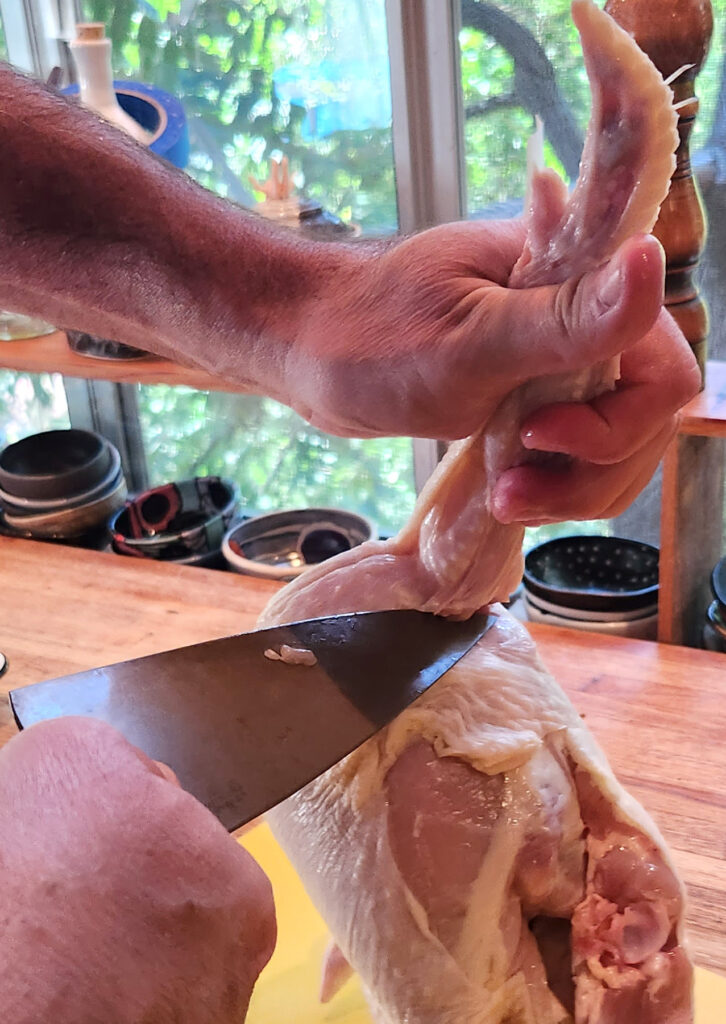
Lift the chicken up by the leg, allowing the weight of the body to pull the skin taut between the lower breast and the leg. Slice through the skin to reveal the area where the leg connects to the body. There is a joint in there that is hard to find, but we’re going to locate it and cut through it. Now, take the knife and continue cutting around the leg where it is attached, leaving the leg muscle attached to the leg and the other meat attached to the body as much as possible. soon, the body will pull the cut open revealing the connecting joint. Find the white cartilage part of the knuckle and try to cut through there. That doesn’t always work; often you have to just cut through the cartilage itself. (pictures below).
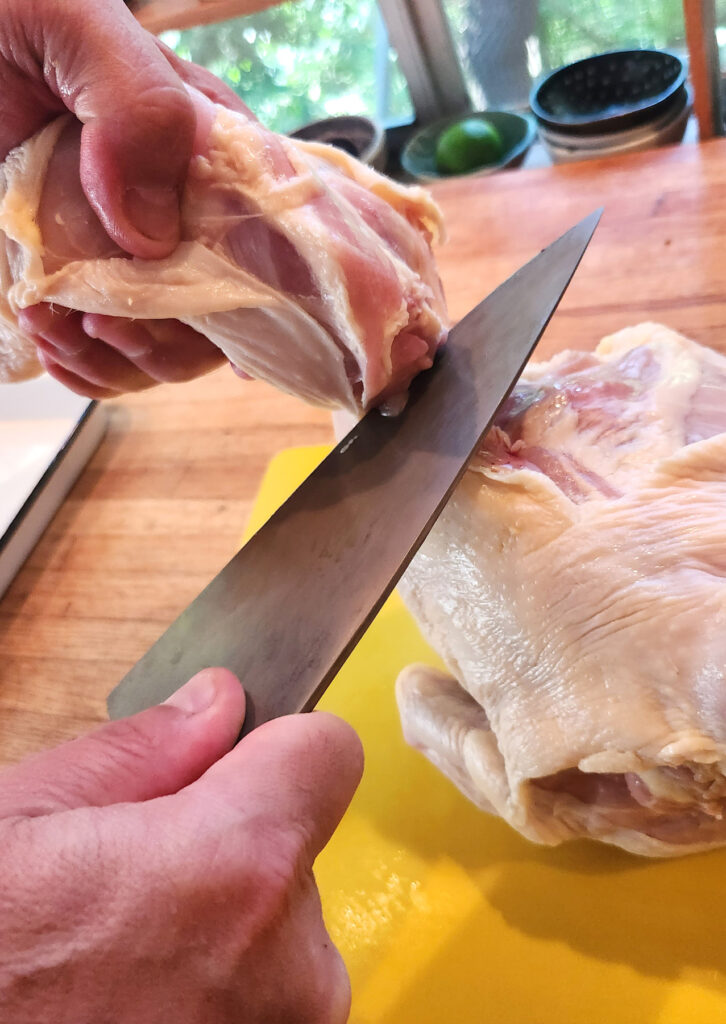
Step 2:
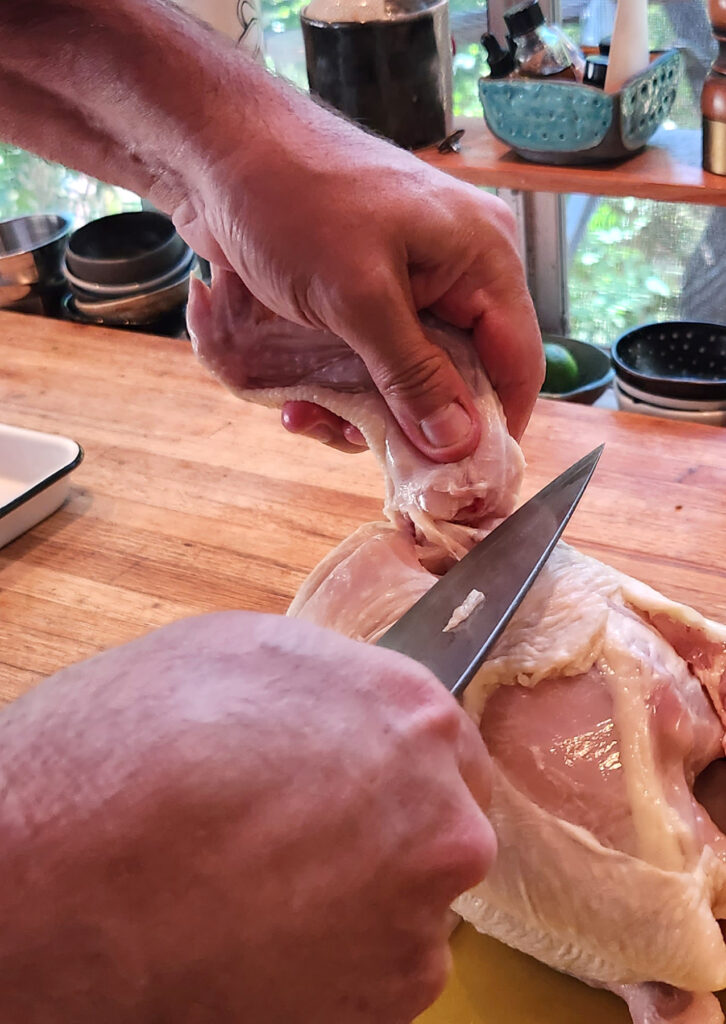
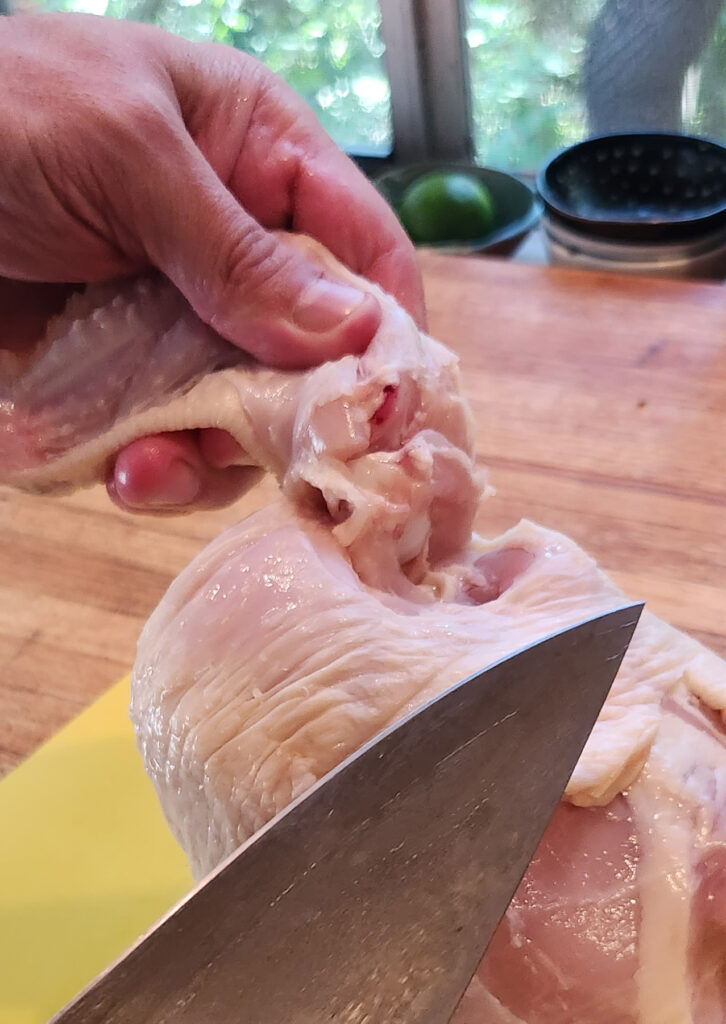
Now we’ll do the same thing with the wing. Lift the bird up by the wing and begin to cut around the joint area where it looks like the wing is attached to the body. From this angle, it looks obvious, but the other side is a little more of a grey area. Just do the best you can to find the natural separation between the wing muscles and the breast/back muscles.
You’ll see that the joint is kind of tucked away in there. Just be patient and try to separate it from the body as best you can. A little experience will make you a pro in no time.